Features of the transfer type
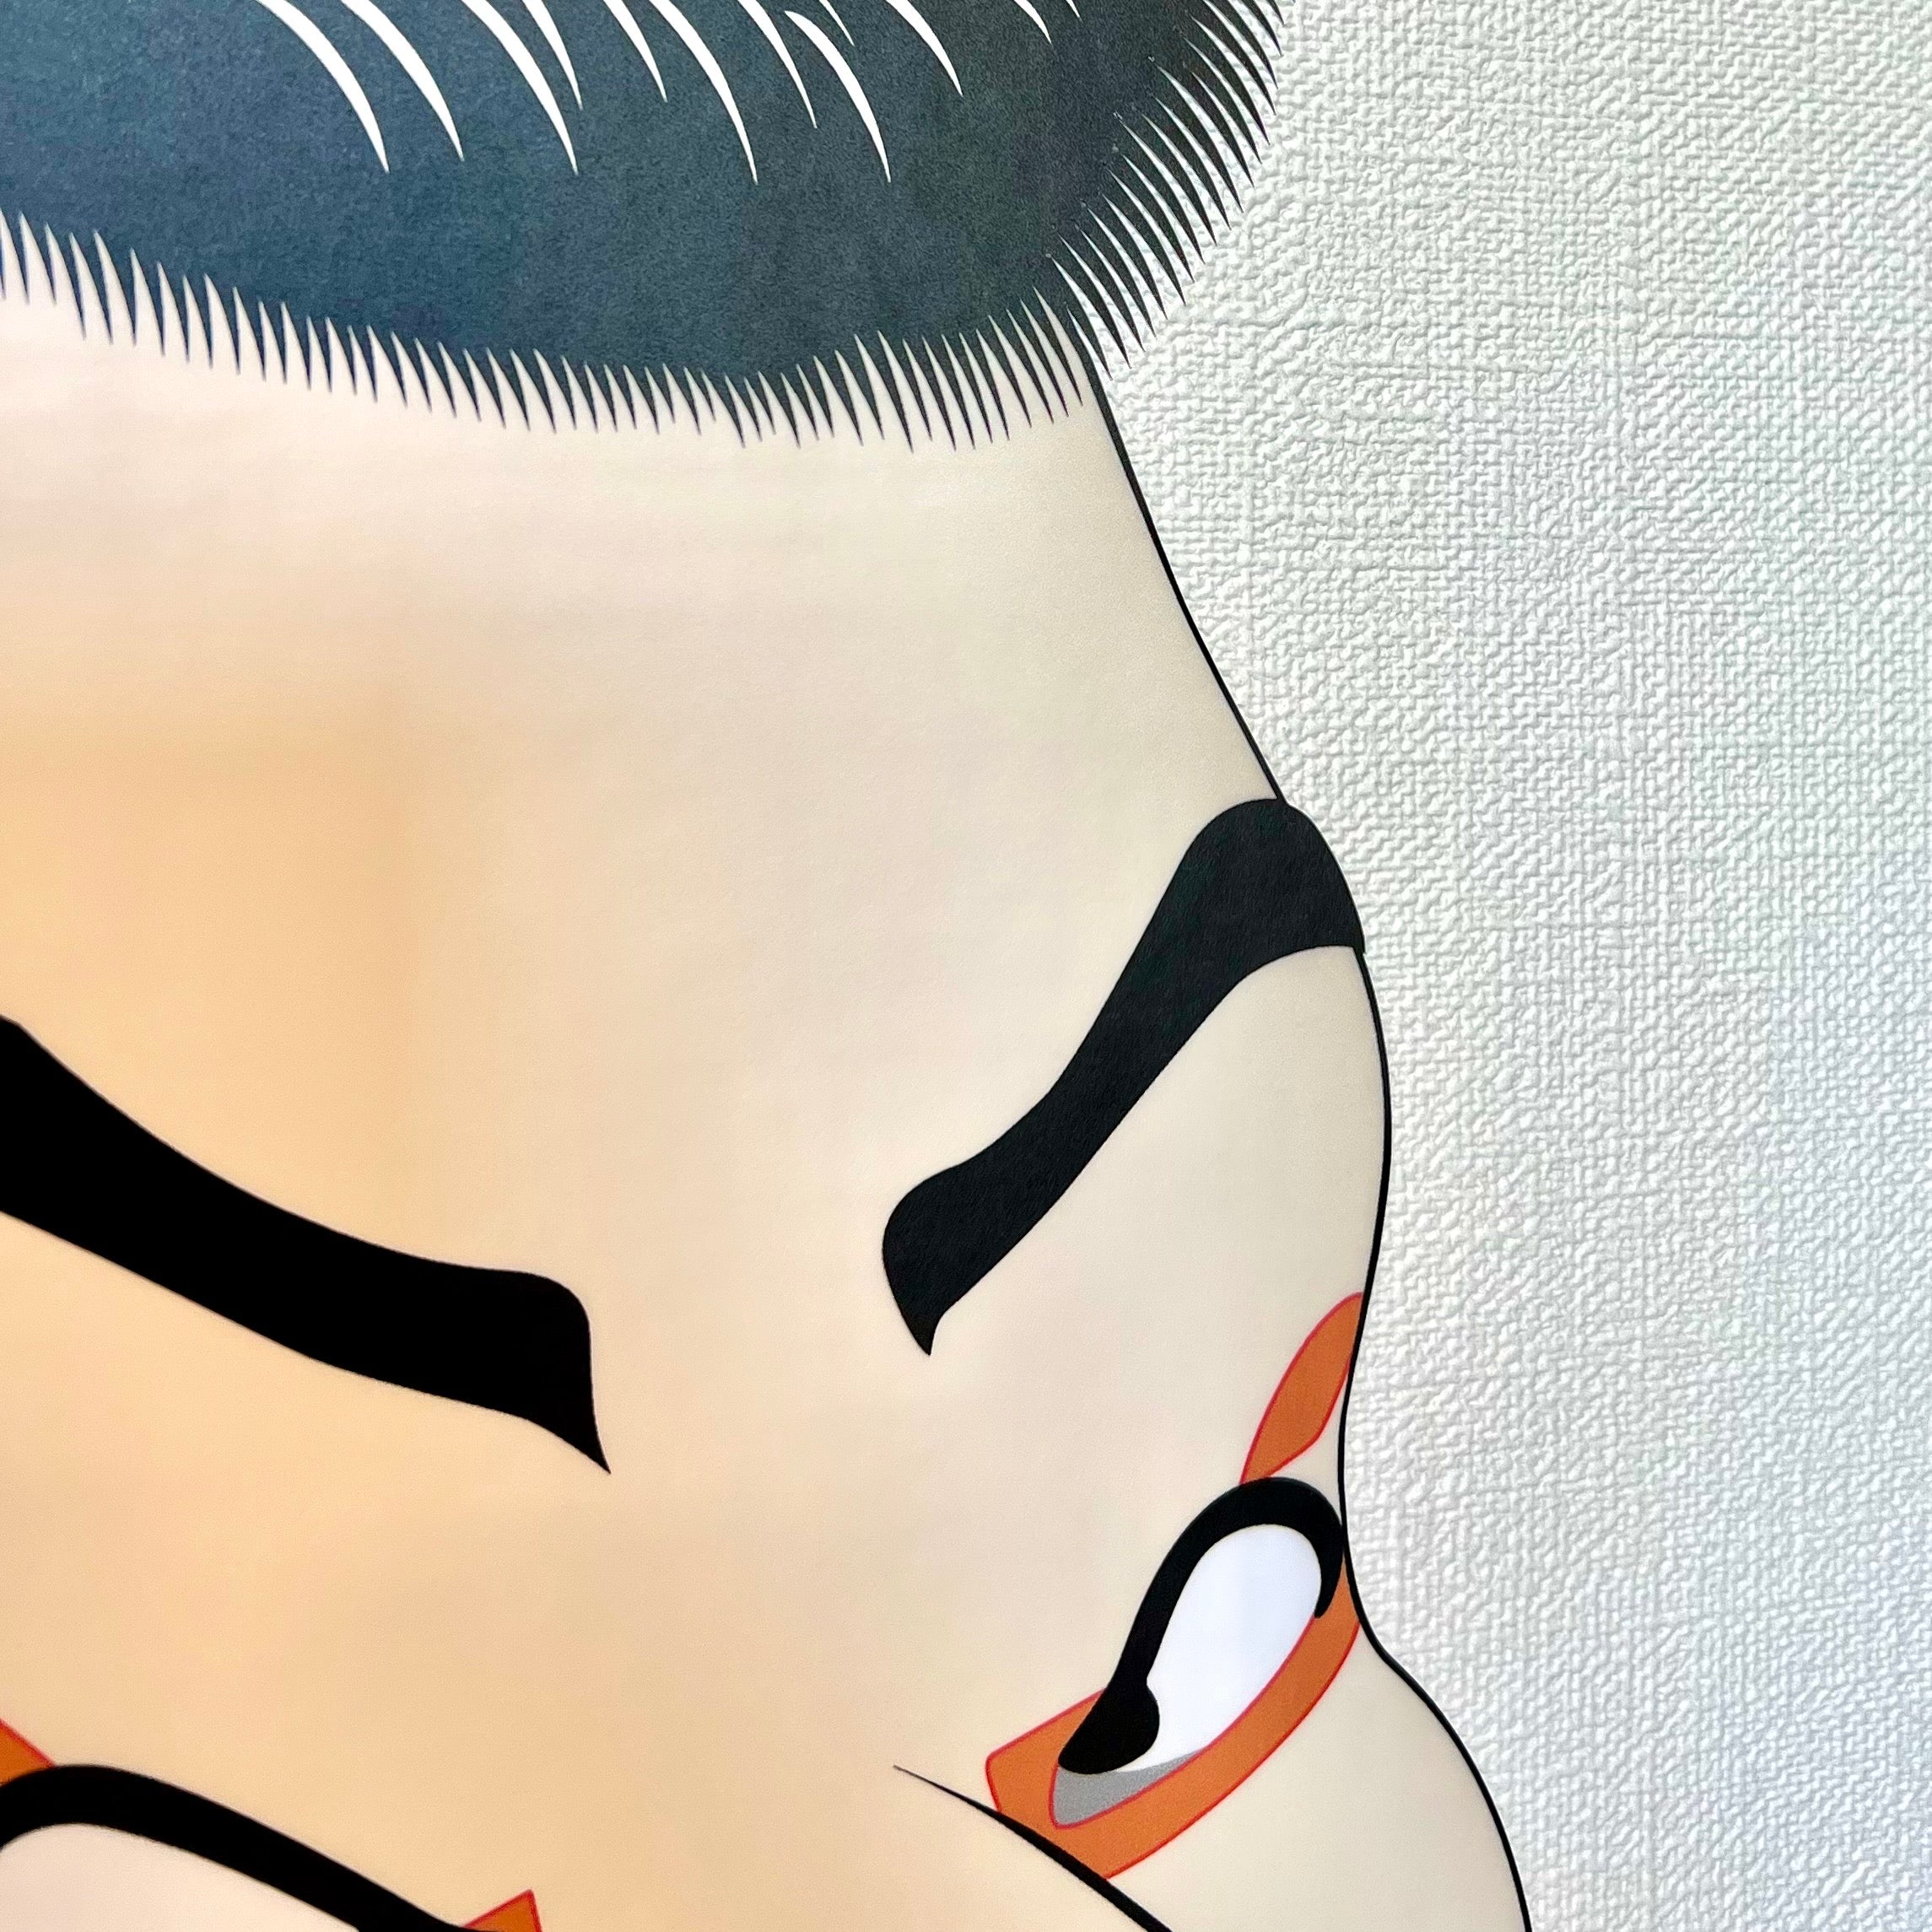
The transfer type wall sticker is distinctively cut following the design of the image or illustration, without borders like a poster.
When applied to wallpaper, it gives the appearance as if it was directly painted onto the surface.
Structure of the transfer-type wall stickers
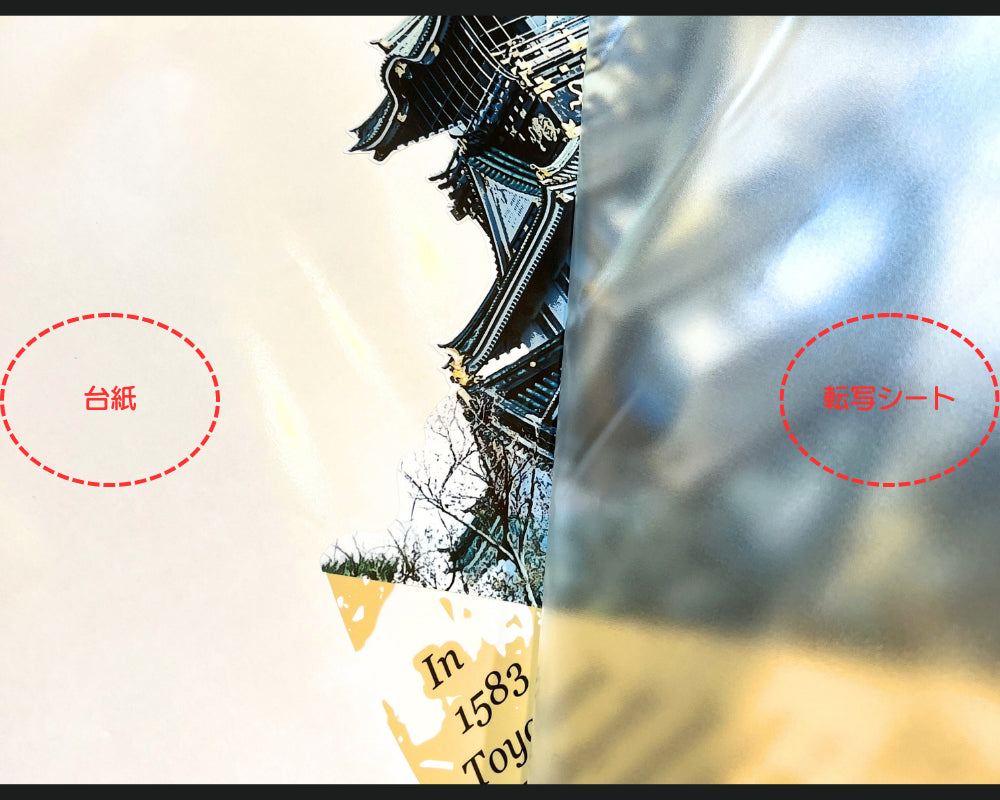
The transfer type is packaged in three layers: ① transfer sheet, ② wall sticker body, and ③ backing paper.
While it's generally possible to apply it by yourself, for larger sizes, you might find it a bit challenging.
In such cases, it might be helpful to have two people working on it.
Please read the following tips for application and apply it carefully!
Tips for applying transfer-type wall stickers
① Place with the backing side up
Position it so that the backing side (rear side) is facing up.
② Transfer the wall sticker body to the transfer sheet
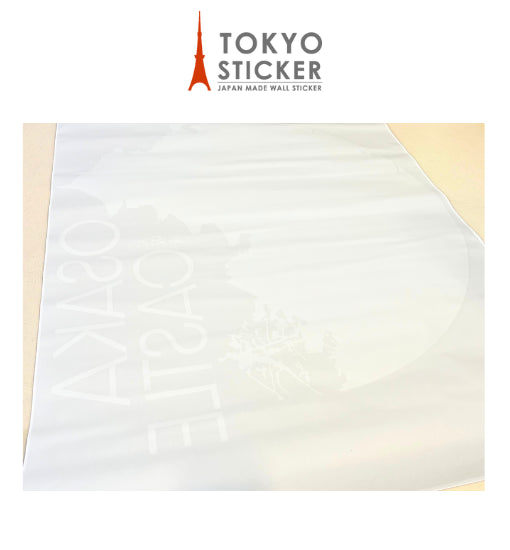
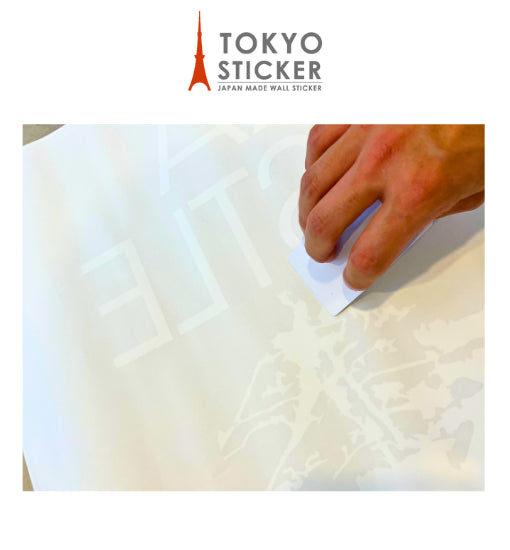
Using the included squeegee or a firm card, rub the wall sticker body onto the transfer sheet.
③ Proceed while checking that the wall sticker is adhering to the transfer sheet
As you transfer it, ensure that the wall sticker is sticking to the transfer sheet.
When peeling off the backing paper, do so slowly and carefully to avoid tearing the wall sticker body.
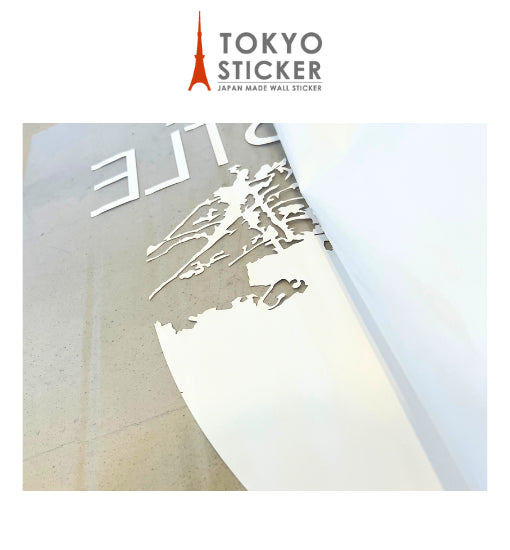
④ Do a temporary placement on the wall
Once the wall sticker has been applied to the transfer sheet, remove all the backing paper and stick the wall sticker, along with the transfer sheet, to the desired position on the wall.

⑤ Attach the wall sticker to the wall
Once you've decided on the placement, you're almost there! From atop the transfer sheet, use the squeegee to carefully rub and attach the wall sticker to the wallpaper.
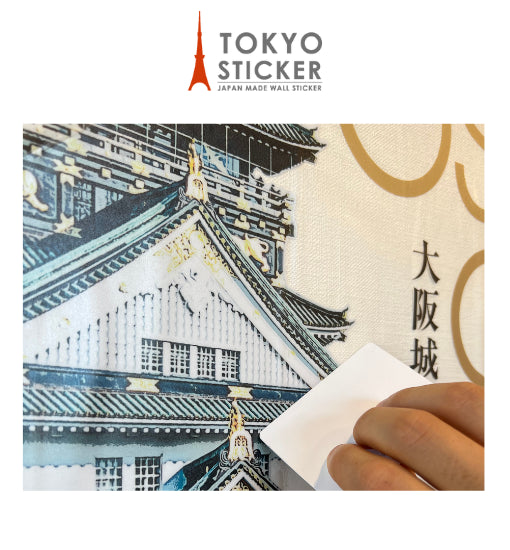
⑥ Slowly peel off the transfer sheet while ensuring the sticker is adhered to the wallpaper
Don't peel off the transfer sheet all at once; instead, peel it off gradually as you stick.
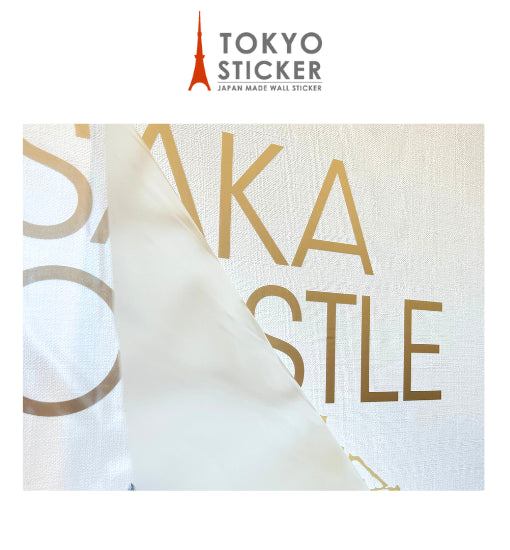
⑦ Done!
Once you've completely removed the transfer sheet, it's finished!
